

Completing Your Business Profile To Launch Your Digital Store App
Step by Step guide on how to launch your Digital Store App with Misto
If you’re a home-based, small seller or artist and have just discovered the Misto Business App, this guide will help you from sign-up to sales in no time.
Read on to learn how to set up your Business Profile on Misto Business App, build your own Digital Store App, go live, and start selling online in minutes.
Why is completing your profile on Misto important?
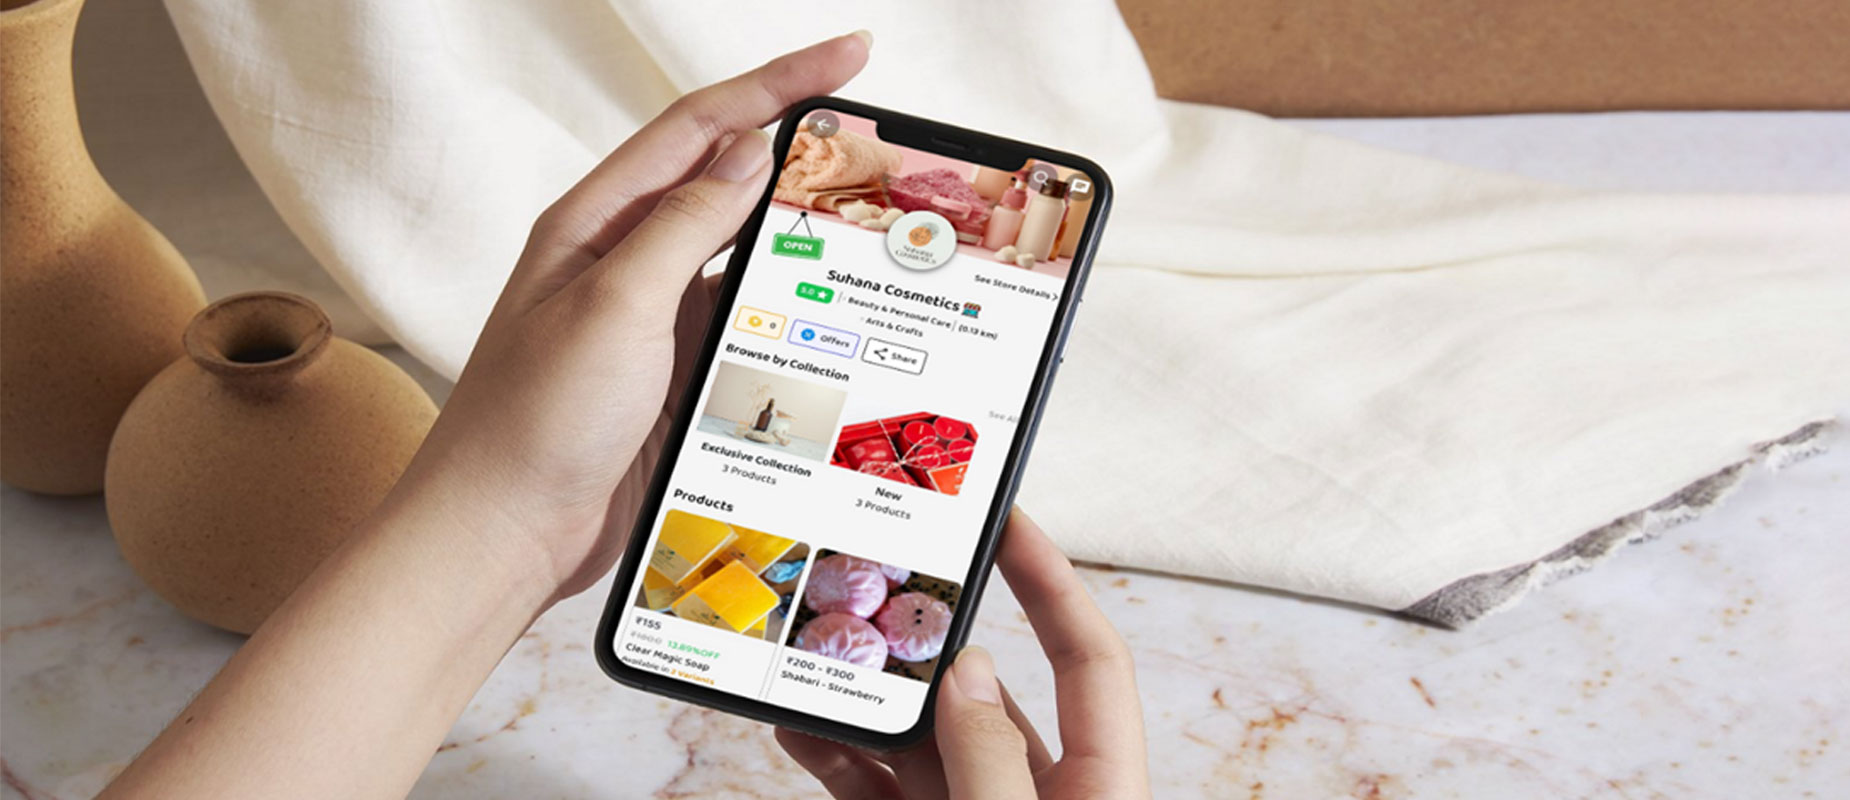
Your Misto Business Profile is more than just a formality. It’s your digital storefront, and customers trust businesses that share information about themselves, are consistent, and transparent.
- A completed profile gives you access to all selling features
- It builds trust and improves customer confidence in your business
- It unlocks shipping, payments, loyalty programs, and more
- It’s required to go live on the Misto Business app
Step-by-step guide to set up your Misto Business profile
Step 1. Complete your KYC (Aadhaar & PAN)
Your personal KYC helps verify your identity as a seller. Here’s what you’ll need to do:
- Enter your Aadhaar Number → Receive OTP → Verify
- Add your PAN Number → Save. The system will auto-verify this PAN with the Aadhar Number
Once done, your KYC section is complete.

Step 2. Add your GSTIN or Enrollment ID
Misto lets you sell with or without a GST number. Simply enter your GSTIN when prompted. Enter and verify it to sell pan-India.
Even if you don’t have GSTIN, you can still sell within your state/union territory by entering an Enrollment ID. If you don’t have an enrollment ID, you can generate it easily from the GST Portal → Go to Services > User Services > Generate User ID for Unregistered Applicant
Add your HSN codes (product categories like clothing, food, decor). This helps customers discover your products better
If you have entered your GSTIN, specify whether your pricing is GST Inclusive or Exclusive

Step 3. Add your store address
This is the address from where your products will be dispatched or your customers can go pick-up their orders.
- If you work from home, you can use your home address as your store address
- Use the map tool in the app to accurately locate yourself
This helps the app to calculate your delivery zones and offer accurate shipping rates.
Step 4. Configure delivery options
Choose how you want to deliver products. The available options are
- Self Delivery: Set a delivery radius (e.g., 2.5–3 km). Choose fixed or variable delivery charges. You can offer free delivery by toggling it on. For self-deliveries, you can use your own delivery personnel. But remember, you need to update the status of delivery manually for your customers to let them know the shipment status.
- Shiprocket Integration: Misto Business Platform comes pre-integrated with Shiprocket. Easily create a new free account with Shiprocket from your Misto App itself or link your existing one with the app to offer nationwide delivery. And that’s not all, with Misto, you also get exclusive rates curated for sellers of Misto Business without any subscription fees of Shiprocket.
- Hybrid Delivery (Best of both worlds): Use this if you want to deliver locally in your area/region by yourself or use your own delivery partner, along with using Shiprocket for long-distance or out-of-city orders. Set delivery charges accordingly for both methods.

Step 5. Define your store policies
Misto Business gives you the flexibility to set store rules that match your business. Use this option to:
- Enable returns (e.g., within 3 days)
- Allow product exchanges
- Choose refund type (e.g., Full refund, Defective only, Partial refund)
Transparent policies build trust with your buyers, so don’t skip this step!

Step 6. Activate your Misto Subscription
Choose from Basic to Elite store plans to suit your needs. We recommend the Premium Store Plan, as it offers an ideal balance of flexibility and powerful features to help you grow your business faster. This plan allows you to add up to 200 products, upload images/videos, offer product variants, run multiple offers, configure an advanced loyalty program, and so much more.
Once you complete payment, your store is ready to launch.

Optional (But recommended): complete your profile details
- Your store will look more professional and stand out amongst the crowd. You’ll just need to:
- Upload your Store Logo and Banner
- Add a Store Description (what you sell, your story, your vibe)
- Fill in Personal Details (email, gender, etc.)
- Add Bank Details for payments (Bank name, account number, IFSC)
- Upload licenses like FSSAI, if you sell food
Your journey starts here.
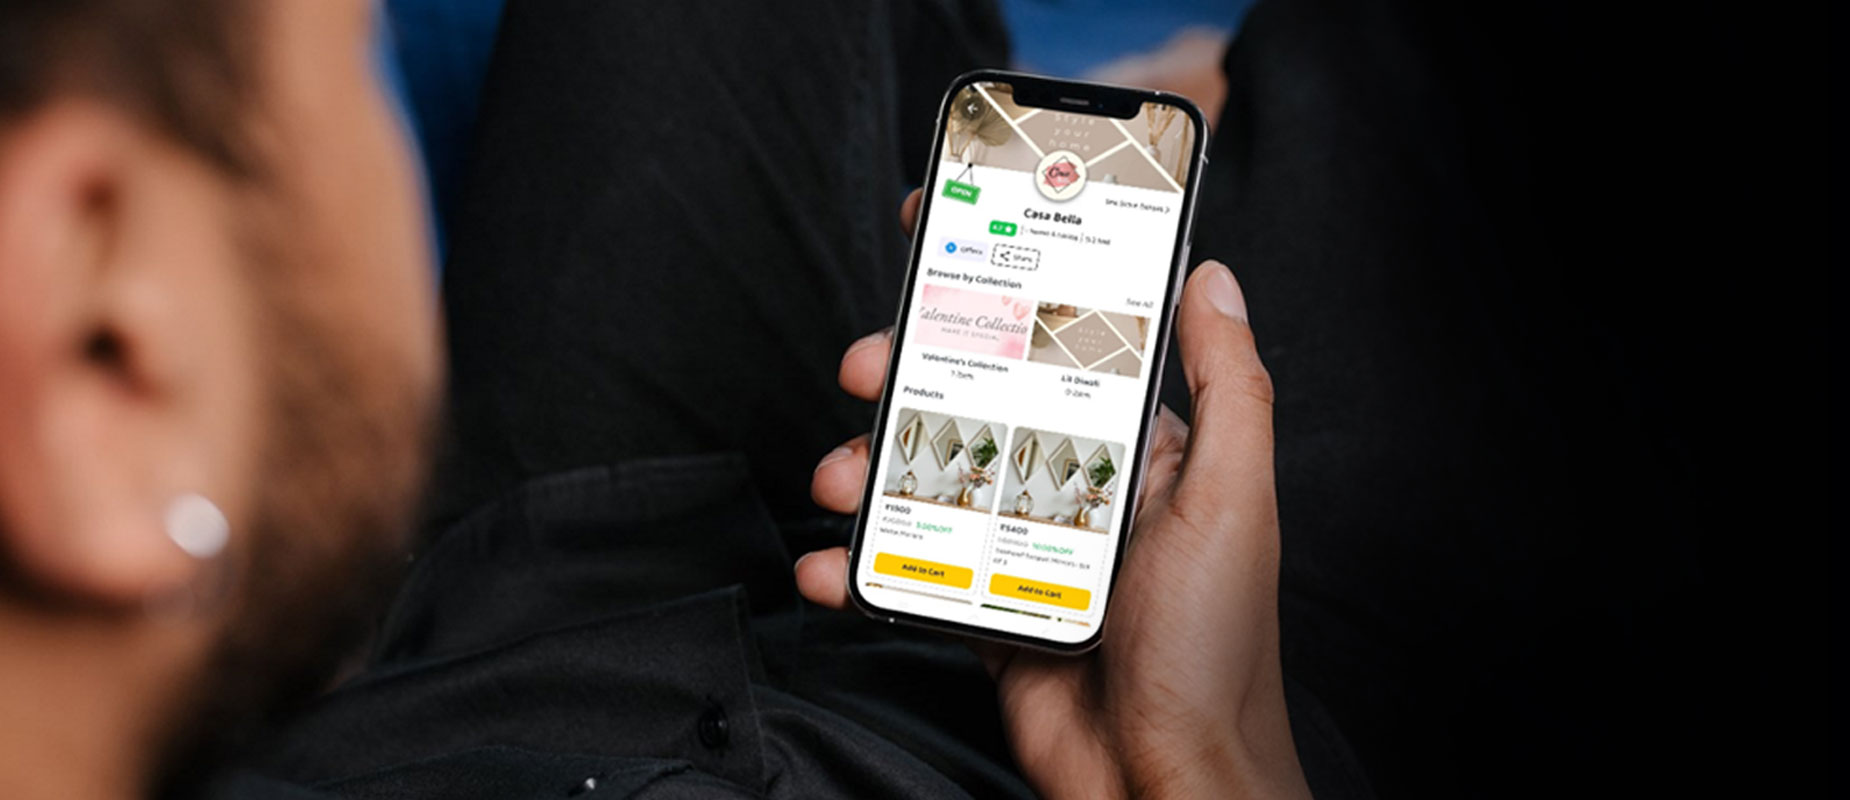
Once your profile is complete, add your products, create collections, and share your Store App QR Code/Link in your network. Promote it on your social handles, chat groups, or at local exhibitions.
With Misto, you not only build your own branded shopping app in minutes; you also make sure your customers have your store in their hand (phone) all the time!
At Misto, we believe every home-based business deserves a digital identity, not just a shop, but a store app that reflects your creativity, values, and passion.
Completing your profile is the first real step towards building your brand online.
And when you're ready to share your store with the world, you'll know you’ve done it right.

Ready to start your digital business journey?
Download the Misto Business Learn more about subscription plans